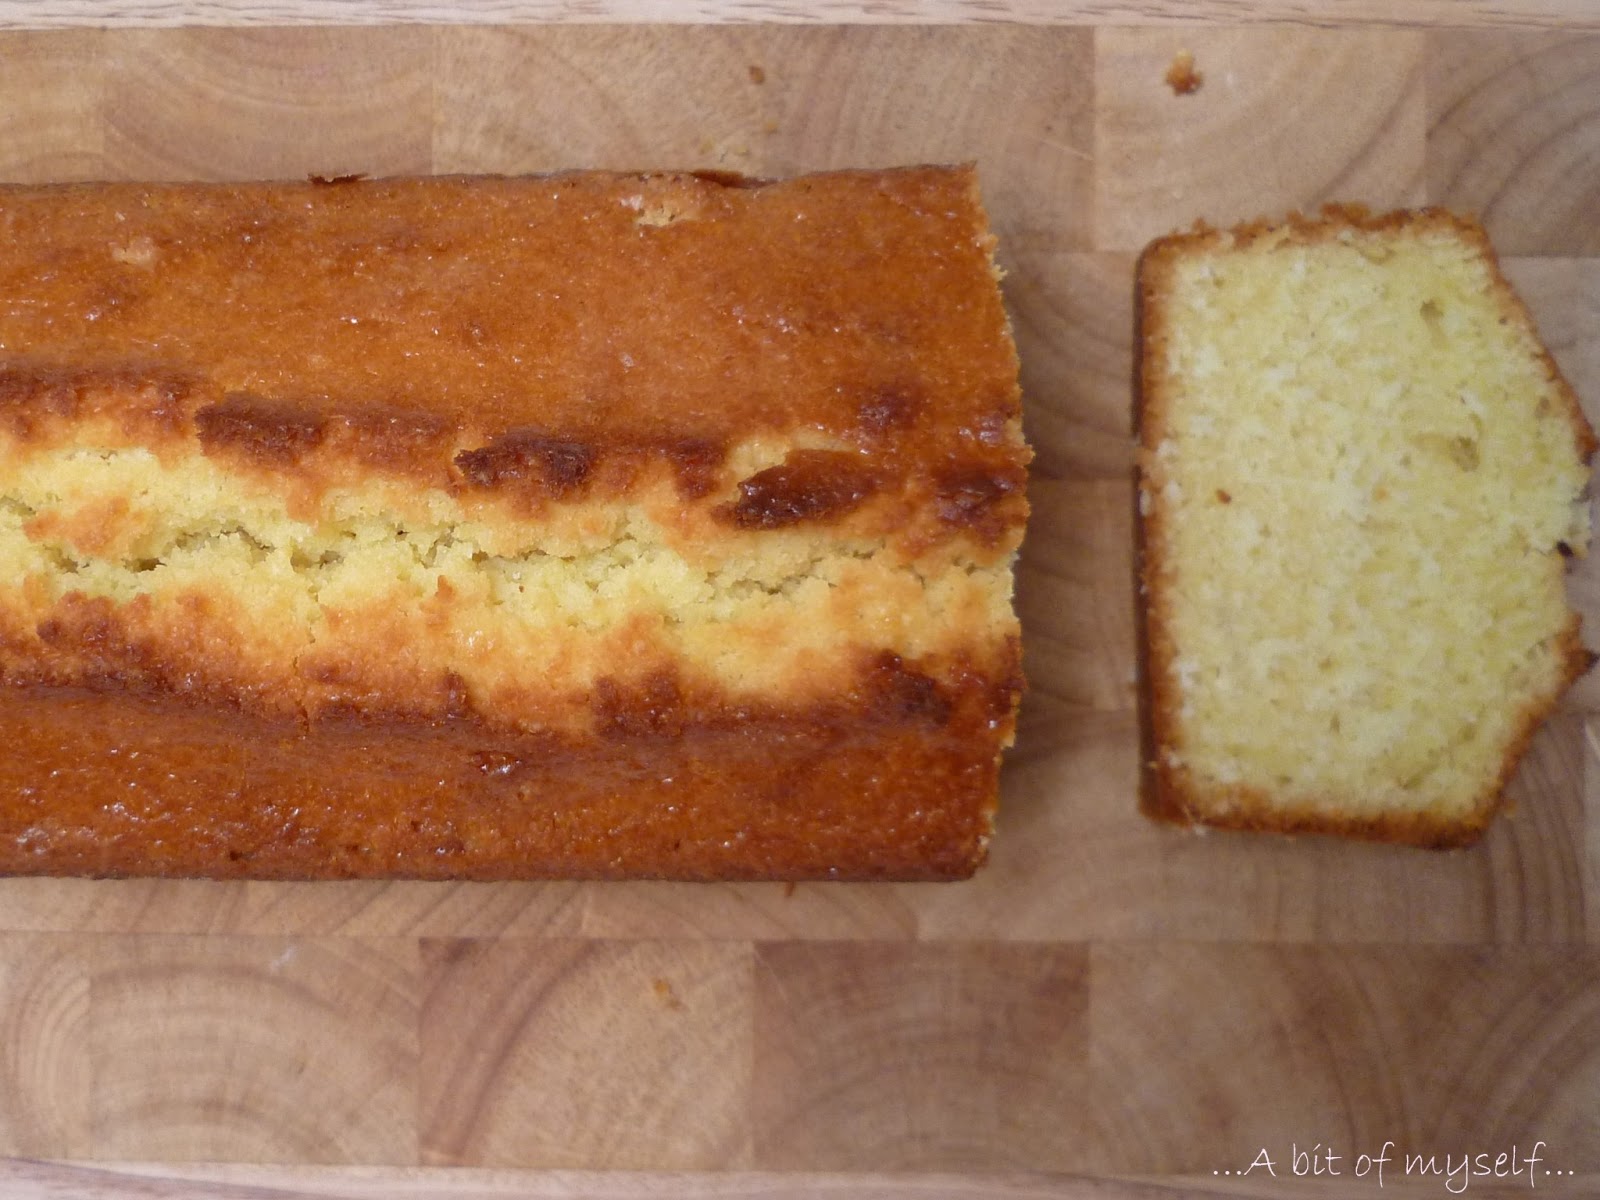
Showing posts with label Coconut. Show all posts

Saturday, January 25, 2014

Classic Lemon Cheesecake


Here I am with another post, and another contest! No worries, this will be a happy post, in which I will write about cakes, challenges and mutual help. I discovered the Re-Cake through Ileana's blog: it is contest organized by Sara, Elisa, Miria, Silvia and Silvia, and it is a lot of fun! What is it? Well, every month a new recipe is chosen, and the participants can either make it following the original recipe, or add some personal touches, always according to the organizers' guidelines.
This month's cake was a lemon cheesecake, and I really couldn't postpone any longer! I had already missed out on the challenge on cinnamon rolls and a magnificent cream, salted caramel and chocolate tart! So I grabbed my kitchen utensils and I started this new adventure -  a fun and tasty one! :P


The only thing I changed was the topping: I preferred a more durable buttermilk and confectioners' sugar glaze to whipped cream, since I knew the cake would have to spend a few days in the fridge, and I added some shredded coconut - I think by now you all realized how much I love coconut!
The glaze was inspired by a Martha Stewart's recipe, that I also posted in this blog. I used 3 tablespoons of buttermilk adn 1 cup of confectioners' sugar, but I think 2 tablespoons would have sufficed, cause the icing turned out to be a bit runny.
The decoration is very simple: I took a lemon, cut it into slices, weighed an equal amount of sugar, took a cup of water, and boiled everything for about 20 minutes.
We liked this cake so much that we very quickly changed our mind about sharing it with our office mates :) We had it all! 
After a long inner struggle I decided not to buy another tin and I decied to use my 26 cm one - the recipe calls for a 20 cm tin. I think, though, that I should  have cooked it for a shorter time to preserve the creamy texture the cake is supposed to have...well, I'll have to make it again!


Finally, I would like to spend a few words to thank the bloggers that host this nice and original contest: the atmosphere is really pleasant, there is competition but also people are always ready to help and give advice! I will try to keep participating and I leave you the link to the facebook group, in case you want to join this friendly community!


CLASSIC LEMON CHEESECAKE


Eccomi di nuovo con un altro post, e un altro contest! Questo però è un post allegro, dove si parla di dolci, sfide, e collaborazione. Tramite il blog di  Ileana, infatti, sono venuta a conoscenza del Re-Cake, una iniziativa carinissima lanciata da Sara, Elisa, Miria, Silvia e Silvia :) Di cosa si tratta? Ogni mese viene scelta una torta che i partecipanti realizzeranno seguendo la ricetta alla lettera oppure personalizzandola, sempre in accordo con le linee guida fornite dalle organizzatrici. La ricetta di questo mese era di una cheesecake al limone, e proprio non potevo rimandare oltre! Già mi sono lasciata sfuggire la sfida sui cinnamon rolls e quella su una torta alla panna, caramello salato e cioccolato che penso fosse da svenimento!  Armata di tortiera e planetaria mi sono dunque lanciata in questa nuova avventura, che mi ha davvero divertita, e senza dubbio ha appagato il mio lato goloso :P Si, perchè questa cheesecake è davvero buonissima!


L'unica cosa che ho cambiato è stata la copertura:  prevedendo un lungo stazionamento in frigo temevo che la panna montata non avrebbe retto, perciò ho scelto una glassa con buttermilk e zucchero a velo ispirata ad una ricetta di Martha Stewart già proposta in questo blog, che ho poi ricoperto con la farina di cocco. Ormai l'avete capito che ho un debole per il cocco, no? :) Le quantità usate sono 3 cucchiai di buttermilk e una tazza (inteso come cup americana) di zucchero a velo, ma forse sarebbe stato meglio seguire le indicazioni originali e usare soltanto due cucchiai di latticello, la glassa è risultata un po' liquida, e, come si intravede dalle foto, colava parecchio al momento del taglio. Il sapore però non ne ha di certo risentito!
 La decorazione è molto semplice, qualche fettina di limone che ho fatto bollire in una tazza d'acqua e zucchero (in peso pari a quello del limone) per circa 20 minuti.
La ricetta è piaciuta molto sia a me che al mio ragazzo, tant'è che abbiamo rapidamente fatto dietro front riguardo all'idea di condividerla coi colleghi...ma de che??! Ce la siamo sbafata tutta noi :D
Dopo lunghe e dolorose riflessioni ho deciso di non acquistare l'ennesima tortiera, e grazie anche ai consigli delle altre re-cakers ho optato per una da 26 cm al posto di quella da 20 suggerita in ricetta. Ovviamente il dolce è risultato meno alto del previsto, e credo che avrei dovuto diminuire i tempi di cottura per preservare la consistenza cremosa propria di questa preparazione...che dire, una scusa in più per prepararla di nuovo!


Vorrei infine spendere un paio di parole per ringraziare le organizzatrici di questo contest molto divertente e originale, nonchè tutte le partecipanti: è un'atmosfera molto bella, di sana competizione in cui non mancano però l'aiuto reciproco e lo scambio di consigli! Farò di tutto per continuare a partecipare ai prossimi re-cake, e vi lascio il banner del gruppo facebook nel caso vi vogliate unire a questa bella comunità!


Tuesday, October 15, 2013

Graveyard chocolate pound cakes


Hi guys! Here I am with another easy idea for some halloween treats! :)
Browsing the web for inspiration, I found some graveyard brownies, and since I just bought these tiny cute mini loaf silicon moulds, I decided to convert this muffin recipe into a chocolatey one. It turned out very nice, the coconut flour gave the pound cakes this rough look, as if the surface was made of earth, and well, there is chocolate and coconut milk...need to say anything else? :)
Here's what you'll need

65 gr flour
25 gr cocoa powder
40 gr coconut flour
 80 gr muscovado sugar
130 gr coconut milk
40 gr peanut oil
5 gr baking powder
pinch of salt

Dark chocolate
White chocolate

In a medium bowl mix flour, baking power, cocoa powder, coconut flour, sugar and salt. In a separate bowl combine coconut milk and oil. Add the dry mixture and stir quickly until just combined.
Scoop the dough in mini loaf cake moulds and bake at 180° for 20 mins.

For the decorations I melted the chocolate in a water bath, added just a few drops of oil (as Araba Felice taught us) and with a sac à poche and a decorating pen I literally "drew" the tombstones, bones, hands on a parchment paper sheet and let them dry. You can draw the subject you want on normal paper and put it under the parchment sheet to make things easier. ;)
I used more melted chocolate to stick them together, and decorated the pound cakes :)
It's nice, isn't it? ^_^


CIMITERO DI TORTINE AL CIOCCOLATO


Ciao! Eccomi qui con un'altra idea (spero) carina per halloween! :)
Navigando per il web in cerca di ispirazione, ho trovato dei cimiteri di brownies; visto che ho comprato di recente degli stampini da plum cake in silicone, ho deciso di trasformare i brownies in mini tortine, convertendo questa ricetta in una cioccolatosa! :D
Il risultato è stato sorprendentemente gradevole: la farina di cocco ha conferito un aspetto "terriccioso" alla superficie di questi dolcetti, perfetta per lo scopo, e poi..ci sono cioccolato e latte di cocco..devo aggiungere altro? :)
Ecco la lista degli ingredienti:

65  gr farina
25 gr cacao in polvere
40 gr farina di cocco
80 gr zucchero muscovado
130 gr latte di cocco
40 gr olio di semi (per me di arachide)
5 gr lievito per dolci
un pizzico di sale


Per le decorazioni:

Cioccolato fondente
Cioccolato bianco


In una ciotola abbastanza capiente unite tutti gli ingredienti secchi: setacciate la farina col cacao e il lievito, aggiungete lo zucchero, il sale, e la farina di cocco. In un contenitore separato versate il latte di cocco e l'olio di semi. Unite gli ingredienti secchi e mescolate velocemente. Versate negli stampini e infornate a 180° per 20 minuti. 

Per le decorazioni ho sciolto il cioccolato a bagnomaria e aggiunto un goccino d'olio (come insegna l'Araba Felice). Con l'aiuto di una penna per decorazioni e di un sac-à-poche ho letteralmente disegnato le lapidi,le mani, le ossa su un foglio di carta da forno, e ho lasciato asciugare. Potete disegnare i vostri soggetti su della normale carta bianca e disporla sotto la carta da forno per facilitarvi le cose. Ho usato altro cioccolato fuso per attaccare le varie parti insieme, e ho decorato le tortine. :) 
Carino, no? ^_^


Thursday, June 27, 2013

Buttermilk coconut pound cake


After I made pancakes for the first time I have been willing to prepare them again, experimenting a bit with different versions...for this purpose I bought some buttermilk, that I had never used before, but instead of pancakes I made this pound cake...and I don't regret it! :D
The recipe comes again from Martha Stewart's website, and in the original version some buttermilk is used to make a glaze with coconut flour and confectioners' sugar...I skipped this step and as an alternative I suggest to have the cake with some unsweetened greek yogurt...they go really nicely together! :)

260 gr flour
210 gr sugar
170 gr butter
3 eggs
250 ml buttermilk
1 1/2 tsp baking powder
1/2 tsp salt
1 tsp pure vanilla extract
95 gr coconut flour

Preheat the oven at 175°. In a bowl whisk flour, baking powder and salt.
In a separate bowl beat butter with sugar until pale and fluffy, add the vanilla and the eggs, one at the time.
Whisk in the flour in 3 batches, alternating to buttermilk, then fold in the coconut flour with a spatula.
Transfer to a baking pan and bake for 60°. If you use a toothpick to check if the cake is ready, it should still be a bit moisty when you turn the oven off.


According to the original recipe the coconut flour should be toasted, but I didn't. Ops! Still, I really liked it! ^_^


PLUMCAKE AL COCCO E BUTTERMILK

Dopo aver fatto i pancakes per la prima volta, mi sono ripromessa di sperimentarne quante più varianti possibile...e a questo scopo ho comprato del buttermilk (o latticello), che non avevo mai usato prima...ma, invece dei pancakes, ho finito per preparare questa torta...e non me ne pento! :D
La ricetta viene dal sito di Martha Stewart, e nella ricetta originale il latticello è utilizzato anche nella preparazione di una glassa, insieme a della farina di cocco e zucchero a velo. Io ho saltato questo passaggio, ed ho invece accompagnato una bella fetta di questo plumcake con dello yogurt greco,una combinazione davvero azzeccata! :)

260 gr farina
210 gr zucchero
170 gr burro
3 uova
250 ml buttermilk
1 1/2 cucchiaino lievito per dolci
1/2 cucchiaino sale
1 cucchiaino di estratto di vaniglia
95 gr farina di cocco

Preriscaldate il forno a 175°. Mischiate insieme farina, lievito e sale. 
In una ciotola separata battete il burro con lo zucchero fino a raggiungere una consistenza morbida, quindi aggiungete prima la vaniglia, poi le uova, una alla volta. Incorporate la farina in tre fasi, alternandola al latticello. Unite la farina di cocco con l'aiuto di una spatola. Versate in uno stampo da plumcake imburrato e infarinato e cuocete per 60'. Se fate la prova stecchino questo dovrà uscire ancora leggermente umido al momento di sfornare.


Secondo la ricetta originale la farina di cocco andrebbe tostata prima di essere usata, ma io non l'ho fatto! Ops! :D La torta era molto buona lo stesso! ^_^

Sunday, June 16, 2013

Coconut milk raspberry muffins with a surprise ;)


I don't know if by now you guys realized that I love coconut: dried, fresh, with Nutella, in both sweet and savory dishes...even my bathfoam is with coconut milk!
This is to say that when I found the recipe of these muffin on the beautiful blog Pan di zenzero I couldn't resist...
I made some changes to the original recipe, due to lack of ingredients and gluttony! :P

90 gr flour
40 gr coconut flour
70 gr brown sugar
120 gr coconut milk
40 gr butter, melted
5 gr baking powder
pinch of salt

Raspberry jam
White chocolate


In a bowl mix together all the dry ingredients: flour, coconut flour, sugar, baking powder and salt.
In a separate bowl whisk the eggs with the melted butter and the coconut milk. Add to the dry ingredients and stir them in quickly.
In a muffin tray pour a spoonful of dough, add a teaspoon of jam and a little square of chocolate, then add another spoon of dough (fill only 2/3 of the muffin mold, cause they will expand while cooking).
Bake at 180° for 20 minutes. Sprinkle with coconou flour (I forgot :P ) and eat! :D

Sorry for the bad and only picture, these muffins really disappeared in a matter of seconds (I guess this is enough to tell how nice this combination is)! :D


MUFFINS AL LATTE DI COCCO E MARMELLATA DI LAMPONI CON SORPRESA ;)


Non so se a questo punto abbiate capito che io adoro il cocco: fresco, essiccato, con la Nutella, nei piatti sia  dolci che salati...pure il mio bagnoschiuma è al cocco! 
Potete immaginare l'estasi che ho provato quando ho letto questa ricetta sul (bellissimo) blog Pan di zenzero...non ho potuto resistere!
Ho apportato alcune modifiche alla versione originale, sia per mancanza di ingredienti, che per gola! :P

90 gr farina
40 gr farina di cocco 
70 gr brown sugar
120 gr latte di cocco
40 gr burro fuso
5 gr lievito per dolci
un pizzico di sale

Marmellata di lamponi
Cioccolato bianco

In un recipiente abbastanza capiente mischiate tutti gli ingredienti secchi: la farina, la farina di cocco, lo zucchero, il lievito e il sale.
In una ciotola a parte sbattete le uova con il latte di cocco e il burro fuso. Unite agli ingredienti secchi e mescolate velocemente. In una teglia da muffin versate una cucchiaiata di impasto, quindi un cucchiaino di marmellata di lamponi un quadratino di cioccolato bianco, infine coprite con l'impasto (arrivate a 2/3 dello stampo).
Cuocete in forno caldo a 180° per 20 minuti. Sfornate, cospargete di farina di cocco (io me la sono scordata! :P) e mangiate! :D

Scusate per la foto, una sola e pure bruttina, ma questi muffin sono scomparsi in un batter d'occhio (credo che questo la dica lunga sulla bontà della combinazione lamponi-cocco)! :D

Sunday, June 2, 2013

Coconut panna cotta with lemon curd and strawberry topping


I came up with this simple but very nice recipe cause I had some leftover coconut milk and some lemon curd I had prepared the day before, and I must say that I really liked it! The coconut panna cotta really gave a nice touch to the already delicious combination of lemon curd plus strawberries! I will definitely make it again, and experiment new variations! :D

Lemon curd (from Martha Stewart's website)  - has to be prepared one day before using it.

1 egg + 3 yolks
1/2  (100 gr) cup sugar
1 1/2 teaspoons of lemon zest*
1/4 cup + 2 tbsp lemon juice*
2 ounces (56 gr) butter
pinch of salt

*from 2 lemons

Coconut Pannacotta

300 ml coconut milk
100 ml whole milk
2 tbsp sugar
vanilla flavour
3 gelatine sheets (5 gr)

Strawberries
Confectioners' sugar

Prepare the lemon curd: whisk the egg with the yolks, add the sugar, a pinch of salt and the lemon juice and zest. Put in a saucepan at medium heat and, whisking constantly, bring to simmer.  Cook for 5 minutes, until the mixture thickens, then pass it through a sieve into a bowl, stir in the butter and cover with plastic wrap to avoid the formation of a hard film on top. Refrigerate and use after at least one day.


For the coconut panna cotta soak the gelatine sheets in cold water for about 10', until softened.
Mix milk, coconut milk, sugar and a few drops of vanilla flavour in a saucepan and cook over medium heat. When the mixture is warm add the squeezed the gelatin foils and stir until completely melted. Remove from heat, pass it through a sieve and pour it in the moulds you want to use. I don't have any special moulds, so I used simple water glasses, but I think it  still looks nice! :) Refrigerate the panna cotta for at least 5 hours.
About 30' before serving wash the strawberries, cut them in small cubes, add a few drops of lemon juice and a sprinkle of confectioner's sugar and let them rest for 15'.
Compose the glasses: for a lemon curd topping with a sac-à-poche and add a couple of spoonfuls of strawberries...Enjoy!


With this amount of milk and coconut milk I obtained 4 glasses, one of which was spilled on the floor! Grrr! ;)
I thought the lemon curd was a bit too sweet, maybe nex time I will reduce the amount of sugar, or I will put a bit less lemon curd. Hope you like it! :)

PANNA COTTA AL COCCO CON FRAGOLE E LEMON CURD


La ricetta di questo dolce al cucchiaio mi è venuta in mente come un modo per utilizzare del latte di cocco aperto che avevo in frigo e del lemon curd che avevo preparato il giorno prima per curiosità...e devo dire che mi è piaciuta un sacco! Il sapore di cocco aggiunge un tocco davvero interessante alla già infallibile combinazione fragole+lemon curd! La rifarò senz'altro, e ho già in mente un paio di varianti da sperimentare! :D 

Lemon curd  (dal sito di Martha Stewart) - da preparare con un giorno di anticipo

1 uovo intero + 3 tuorli
100 gr zucchero
1 cucchiaino e 1/2 di buccia di limone grattugiata*
90 ml di succo di limone*
56 gr burro
1 pizzico di sale

*otterrete queste quantità da circa 2 limoni

Panna cotta al cocco

300 ml latte di cocco
100 ml latte intero
2 cucchiai di zucchero
aroma di vaniglia
3 fogli di gelatina (5 gr)

Fragole
Zucchero a velo

Preparate il lemon curd: mischiate l'uovo e i tuorli, aggiungete lo zucchero, il pizzico di sale e la buccia e il succo del limone (filtrato). Versate il composto in un pentolino e scaldatelo a fuoco medio per circa 5', finche non si addenserà. Togliete dal fuoco, filtrate ed aggiungete il burro poco a poco. Coprite con pellicola per alimenti, lasciate raffreddare e riponete in frigo per almeno un giorno prima di utlizzarlo.


Per preparare la panna cotta al cocco come prima cosa ammollate i fogli di gelatina immergendoli in acqua fredda per circa 10'. Unite il latte, il latte di cocco, lo zucchero e qualche goccia di aroma di vaniglia e scaldate il composto a fuoco medio in un pentolino.  Aggiungete in fogli di gelatina strizzati e tenete il tutto sul fuoco finché i fogli non saranno sciolti. Filtrate e versate negli stampini che avrete scelto...io non avevo stampini appositi e ho usato dei normali bicchieri, e credo che il risultato sia comunque carino da vedere! :)
Mettete la panna cotta in frigo per almeno 5 ore.
Una mezz'ora prima di servire lavate le fragole, tagliatele a pezzi, e unitele a qualche goccia di succo di limone e un po' di zucchero a velo e lasciate riposare per circa 15'.
Distribuite il lemon curd sulla panna cotta (io mi sono aiutata con una sac-à-poche), quindi aggiungete un paio di cucchiai di fragole...buon appetito!


Con queste quantità ho ottenuto quattro bicchieri di panna cotta, uno dei quali ho allegramente versato in terra! Grrr! ;) 
Il lemon curd secondo me era un pò troppo dolce, la prossima volta forse ridurrò un po' le quantità di zucchero, o ne metterò di meno in proporzione. Spero comunque che questa idea vi piaccia! :) 

Thursday, May 9, 2013

From my mom's cookbook: Nutella and coconut roll


What I am going to share with you today is another recipe from my childhood, often part of the menu for my birthdays parties, coming straight from my mom's cookbook. So many memories, flavours, emotions are hidden between those pages...Just looking at my mom's writing feels like going back in time, when I used to help her making these recipes...and, well, that often meant cleaning the leftover dough from the bowls and eating it...from my fingers! I don't think I can properly describe what I feel, but I am sure that those who shared similar experiences knows exactly what I mean..


...even the stains on the page make me feel nostalgic! ;)
Anyways, enough with this sentimentalism, here are the ingredients and the steps to follow (with my tiny changes):

125 gr flour
125 gr sugar
3 eggs
1 lemon zest
1/2 bag baking powder

Nutella
Coconut flour


Whisk the eggs with the sugar for at least 20', until you get a white, foamy mixture.


Fold in gently flour and baking powder, then add the lemon zest.  Line the bottom of a cookie pan with baking paper and pour in  the dough. Bake at 180°for 10-15 minutes.
My pan was 30x40 and I didn't cover it all, say 2/3 of it; the point is to have a layer that is about 1.5 cm thick. Don't bake it for too long (maybe 10 minutes are better than 15), or the roll will crumble down when you roll it.  When the dough is ready cover it with a damp kitchen cloth, roll the everything, leaving the parchment paper in the inside and the cloth on the outside.


Wait about 10 minutes for the roll to cool dow, open it, remove the baking paper and spread your favourite filling. I used Nutella and coconut flour (unbelievable ;P ). A combination that never fails! ;)


Form a roll, wrap it in plastic film and let it rest in the fridge for a couple of hours.


Before serving the roll I removed the external slices that, as you can see from the picture below, don't look so nice...an excuse to eat them myself, cause they might be ugly, but they're still good! ;)


Obviously you can fill the roll with whatever you prefer: lemon custard, coffee custard, jam...if you opt for the latter, this recipe also becomes lactose-free!


DAL QUADERNO DI RICETTE DI MIA MAMMA: ROTOLO DI NUTELLA E COCCO


Oggi vi presento un'altra ricetta della mia infanzia, un must delle feste di compleanno tra parenti o amici, direttamente dal quaderno di ricette di mia mamma. Quanti ricordi, emozioni e sapori sono nascosti tra quelle pagine...Solo a vedere la grafia di mia madre mi sembra di tornare indietro a quando ero bambina, e la aiutavo a preparare questi dolci...e spesso il mio contributo si riduceva a mangiare l'impasto rimasto nelle ciotole...direttamente con le dita!  Non credo di riuscire a descrivere a parole quello che provo, ma sicuramente chi ha condiviso esperienze simili potrà capire il turbine di emozioni in cui mi sono ritrovata guardando questa foto..


...attimi di vita vissuta, di cui le la zozzeria sulla pagina è testimone! ;) Insomma, casa mia...
Beh, bando alle ciance e alla vena nostalgica, trascrivo ingredienti e procedimento (con le mie piccole modifiche):

125 gr farina
125 gr zucchero
3 uova
la buccia grattugiata di un limone
1/2 bustina di lievito.

Nutella
Farina di cocco

Montare le uova intere con lo zucchero per almeno 20', o finché non otterrete un composto bianco e spumoso. 


Unite poco a poco la farina setacciata con il lievito con l'aiuto di una spatola, con il solito movimento dal basso verso l'alto, quindi la buccia del limone. Disponete l'impasto così ottenuto su una placca da forno, e cuocete a 180° per 10-15 minuti. Io ho usato una teglia 40x30 circa, che ho coperto per 2/3 in lunghezza e in larghezza. In ogni caso assicuratevi che l'impasto rimanga un po' altino, circa 1.5 cm.
Non esagerate con la cottura, pena un dolce friabile che si sbriciolerà mentre lo arrotolate. 
Quando il dolce sarà pronto, sfornatelo e copritelo con un panno da cucina inumidito. Arrotolate il tutto, compresa la carta da forno, in modo che il panno resti all'esterno.


Attendete una decina di minuti, srotolate nuovamente il dolce, rimuovete la carta da forno e farcite con ciò che più vi piace. Io ho messo (da non crederci! ;P ) Nutella e farina di cocco. Un connubio infallibile! ;) 


Arrotolate il dolce dal lato più lungo, avvolgete nella carta da forno e ponete a riposare in frigo, diciamo almeno un paio d'ore. 


Prima di servire ho rimosso le fette più esterne, che, come testimonia la foto qui sotto sono un po' stortarelle...una scusa per sbafarmele, perchè saranno pure brutte, ma sono buone lo stesso! ;) 


Ovviamente potete modificare la farcitura a vostro piacimento: creme al limone, caffè, marmellata...se mettete quest'ultima, il dolce diventa pure lactose-free! ;)


Wednesday, April 17, 2013

Juicy curry chicken legs with peppers and coconut milk


I had some friends coming over for dinner  and I decided to experiment a little bit with a dish I ate years ago at my aunt's (not the one already mentioned in this blog, but just as special!). She told me it is a Brazilian recipe called chicken moqueca, but the ingredients are different from what I found searching online. Definitions aside, it was fun to make and even more fun to eat, although  until the last second I wasn't sure that the quantites were right...I felt a bìt like this


My aunt infact has this capability of figuring out how much of what has to be put from experience and intuition...as for me, I'd be lost in the kitchen without a scale!!! Fortunately, the dish turned out to be very nice, according to the guests as well...or maybe they were just very polite! ;)


Ingredients (for 5 people)

5 whole chicken legs (drumstick+thigh)
1,5 kg peppers (red, green, yellow)
3 medium onions
curry
600 ml of coconut milk

2 and 1/2 cups of basmati rice


For the rice:
Rince the rice and put it in a pot. Cover with water (I put 1 cup of water for each cup of rice, I have also been told that one should pour water in the pot until there is about 1,5 cm water over the level of the rice). Turn on the fire; when the water starts boiling turn the heat down to minimum, cover with a lid and wait until all the water is absorbed.


For the chicken:
Heat up some oil in a pan and fry the chicken legs until golden and a bit crispy on the outside, then take them out of the pan and put them aside. In the same pan put the julienned onions and peppers, and, when they soften up a bit, add the chicken back and salt everything. Let it fry a little bit, then cover the pan with a lid to prevent it from drying too much. When the chicken is about ready add the coconut milk and a little bit of curry and let it cook for about 10 more minutes.


Serve the rice and the chicken in the same plate, pouring the juice on top.
I really like this sort of meal, with some juicy meat accompained by rice, and this version was really good! I loved the creamy texture the coconut milk gave to the sauce, and the tiny amount of spiciness from the curry...Awesome!


A few comments: the coconut milk was plenty, you can reduce it to 400 ml, which in my case was one can. The rice was also quite a bit, but when I invite people I prefer to have leftovers rather than hungry guests! ;)


COSCE DI POLLO AI PEPERONI, CURRY E LATTE DI COCCO


Ho preparato questa ricetta per una cena tra amici la scorsa settimana. L'avevo mangiata anni fa da mia zia (non quella già citata sul blog, ma altrettanto speciale!), che me ne ha parlato come di una ricetta brasiliana chiamata moqueca di pollo. A dire il vero cercando informazioni su internet ho trovato versioni un po' diverse, quindi non so..Definizioni a parte, mi sono divertita molto a prepararla, e anche di più a mangiarla, anche se fino all'ultimo secondo ero incerta sulle quantità...mi sentivo un po' cosi'...


Non ho idea di cosa stia facendo

Mia zia infatti è una che fa tutto ad occhio; io, dal canto mio, senza una bilancia in cucina mi sento persa!
Per fortuna la ricetta è stata un successo, a parere non solo mio, ma anche dei miei ospiti, a meno che non siano stati solo mooooolto educati! ;)


Ingredienti per 5 persone:

5 cosce di pollo, con sovracoscia
1,5 kg di peperoni (rossi, gialli, verdi)
3 cipolle medie
curry
600 ml di latte di cocco

2 tazze e 1/2 di riso basmati


Sciacquate il riso per eliminarne l'amido, versatelo in una pentola ed aggiungete una tazza d'acqua per ogni tazza di riso. Qualcuno mi ha detto che la quantità giusta di liquidi è quella per cui il livello dell'acqua nella pentola superi quello del riso di circa una falange. Portate ad ebollizione, quindi salate, abbassate il fuoco al minimo e coprite con un coperchio. Continuate la cotture in questo modo finché il riso non sarà pronto, ed avrà assorbito tutta l'acqua.


Per il pollo: scaldate dell'olio in una padella e mettete le cosce di pollo a rosolare. Quando l'esterno sarà dorato, e la pelle croccante, toglierle dalla padella e metterle da parte. Soffriggete la cipolla e i peperoni tagliati a julienne, e, quando saranno morbidi, aggiungete di nuovo le cosce di pollo. A questo punto salate il tutto, lasciate rosolare a fiamma viva per qualche minuto, per poi coprite per terminare la cottura. Quando il pollo sarà quasi pronto, versate il latte di cocco, aggiungete un pizzico di curry e tenete sul fuoco per circa 10 minuti.


Servite il pollo e il riso nello stesso piatto, versando abbondante salsa.
Apprezzo molto questo tipo di preparazioni, in cui il riso accompagna della carne bella sugosetta, e devo dire che questa versione mi è piaciuta particolarmente! Il latte di cocco ha conferito una piacevole cremosità alla salsina, e il curry secondo me dà il giusto tocco di speziato al piatto!

Solo un paio di note: il latte di cocco era molto, potete anche metterne solo 400 ml, che nel mio caso era una lattina. Anche il riso era parecchio, ma se invito qualcuno preferisco avere un po' di avanzi (che poi uno si ingegna pure a riciclare)  piuttosto che ospiti affamati! ;)